
Now that I'm finished with the first one and almost done with the second one I know exactly what I would do different... the directions are modified (mine needed to be a little bit bigger) =).
Supplies
- Sewing machine, hand sewing needle, thread, button, iron
- 9" long ribbon or cording
- Rotary cutter, mat, ruler
- Two 23" x 11" panels of fabric (outside and lining)
- 23" x 11" interfacing
Process
1) Wash and press your fabric
2) Cut out your panels

3) Iron your interfacing to one of the panels (I attached it to the front, totally doesn't matter)

4) Measure to the center of the panel and pin cording to the right side of front panel. (you want raw edges lined up)

5) Place back panel on top of the front panel (right sides together) and pin in place

6) Serge around your rectangle but make sure to leave an opening so you can turn right side out
7) Straight stitch along the edge of your serge to secure your seam (make sure to leave the same opening in step 6)

8) Carefully trim the corners so that you can press them nicely

9) Turn fabric right side out

10) Roll your seam nice and flat with your fingers and then press

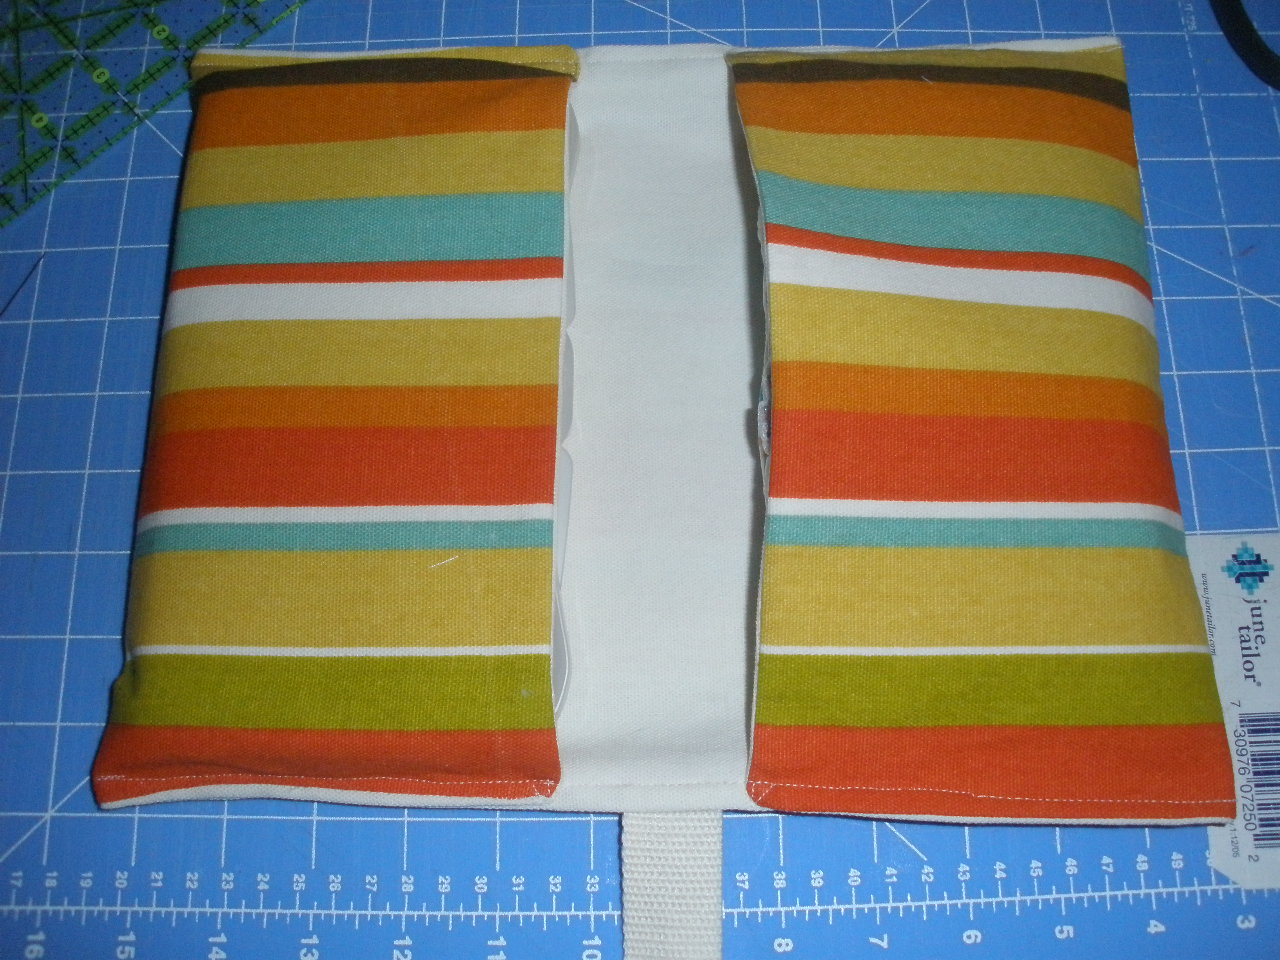
11) Fold your sides in to create pockets (I measured these to 4 1/2") Secure with pins
12) Straight stitch along the two long edges
-stitch as close to the edge as possible, move your needle over if you can
-don't stitch along the folded ends
-reinforce the opening of your pocket with a little triangle
-remember to backstitch!
13) Take the button you're using and measure it on the end of the cording

14) Follow the directions for your machine to stitch a button hole at the end of the cording then trim the center


15) Hand sew your button on the other end of the cording, closest to the fabric

16) Celebrate your fabulous-finished-project!
Oh and you thought you were done! Ha, one more project!
Supplies
-hot glue gun and glue
- 9 1/2"(width) x 11"(height) piece of fabric
- 9 1/2" x 11" piece of batting
-ribbon
-travel diaper wipe pouch
Process
1) Plug your glue gun in
2) Open the wipe pouch and make sure nothing is in it
3) Do a line of glue along the top edge and carefully press down batting

**at first the glue is just warm, but it gets hot quickly - be careful! I have a nice blister**
**do not glue on the hinge**
**edges do not need to be perfect, you will trim and cover with ribbon**
**it is still important to work carefully - too much "overhang" will not allow pouch to close**
**work with the pouch open so you don't accidentally glue it shut**
4) Pull the batting across the top, over the hinge and along the back and attach with a line of glue along the bottom edge
5) Glue along the side edges and pull batting down - make sure it lays flat across the top and bottom as you go
6) Go ahead and trim off any excess batting so that you have a clear view of where to glue and attach your fabric.

7) Follow steps 2-6 to attach fabric

8) Glue on your decorative ribbons
9) To finish your edge, start at a hinge and glue all the way around.
-remember not to glue the actual hinge part, but leave enough ribbon so you can still open and close
-always work in sections

I didn't realize how few photos I took of the wipe pouch! It's hard to glue and snap pictures at the same time =) Here is another tutorial if you need some more photos.
Here is one of the finished Diaper clutches and wipe caddies.
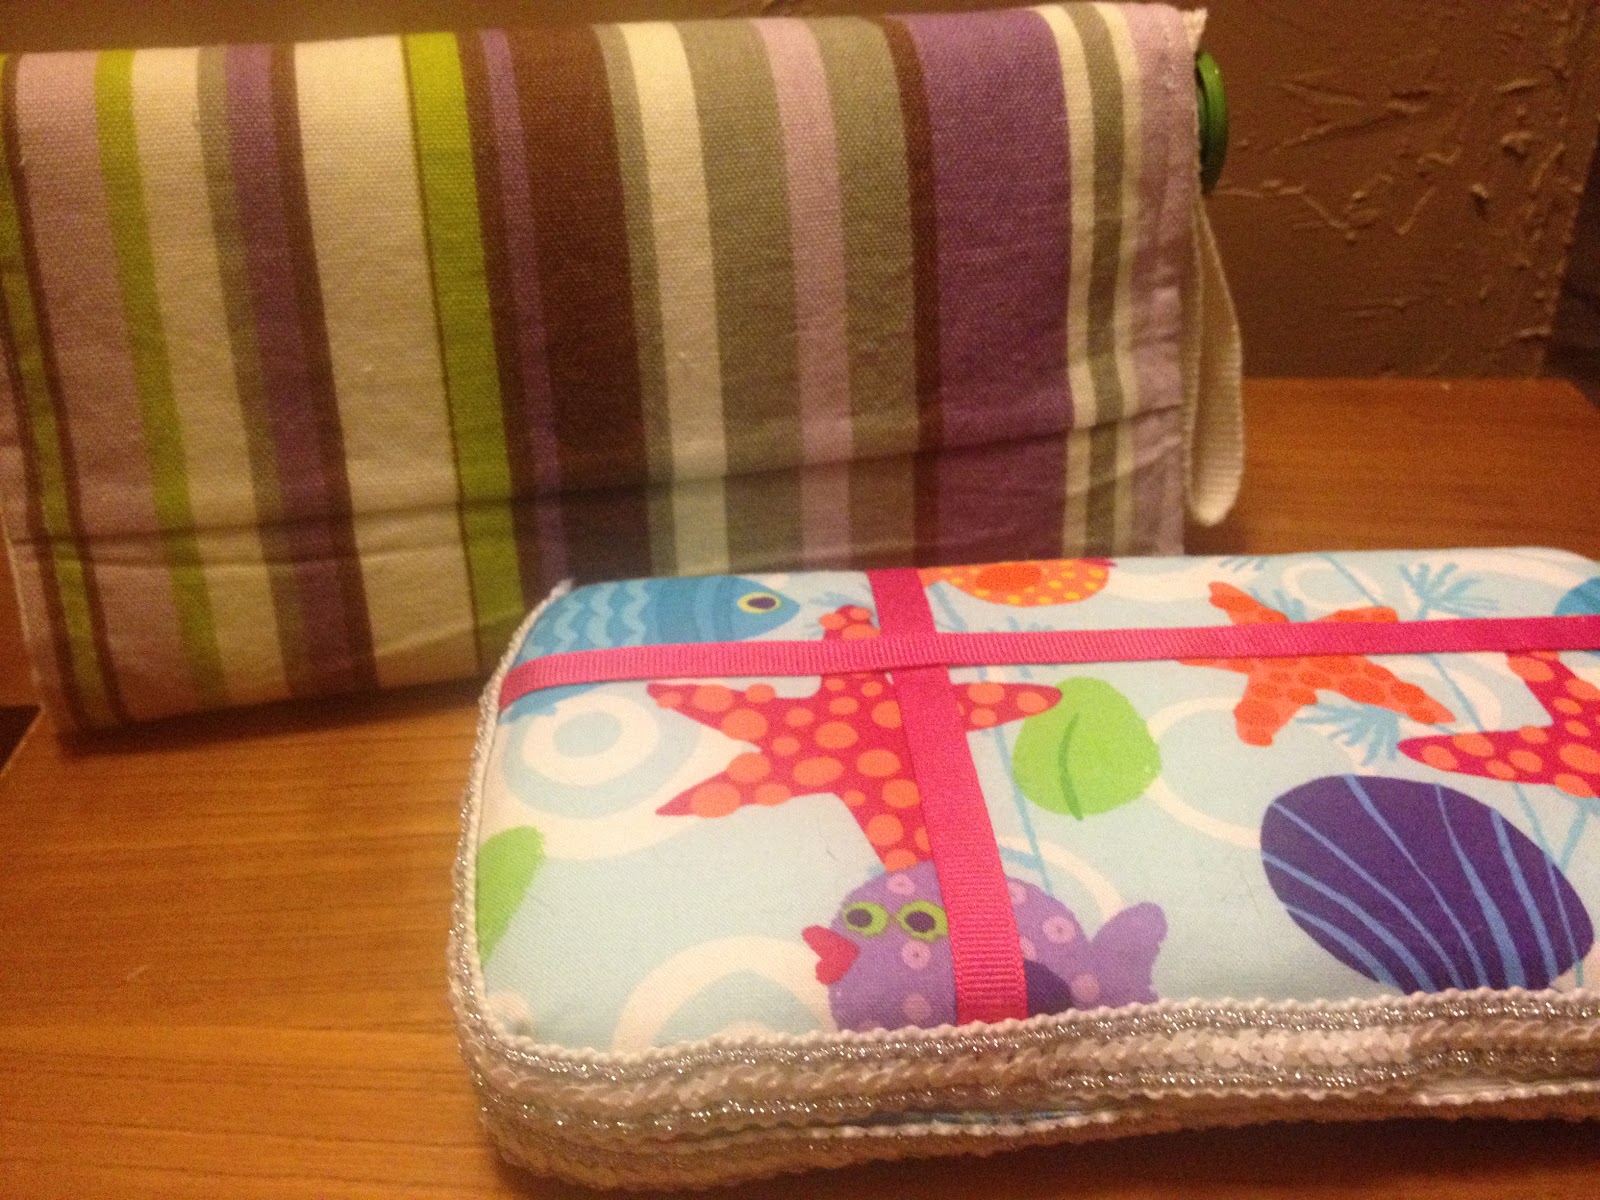
The projects were super easy and quick. I'd love to make a set for you or someone you know - just send me some fabric =) or show me the ones you complete!! These don't even have to be for babies! I use wipes all the time - maybe you just need a fun hard case for stuff in your purse =)
Happy Projecting!
No comments:
Post a Comment